New this week
This week I created the model and rigged an enemy character model. Progress is slow and I’m spending additional time trying to work out a good workflow to make art less excruciating.
The boy
Here he is:

The reason I chose this character to be the first to create is because of its simple animation rig. It is more simple than a normal human character because it features no independently operable arms. The bone that was most complicated to make is the pelvis. I’m still not happy with the result but its good enough. Since I’m following the design practice of “Most detail and distinguishing features should be present from the waist and above” I don’t think the scuffed pelvis bone or feet matter all too much.
As the game has a pixelated graphics style its important to ensure the size of the pixels is generally consistent with the environment. To do this the WIP model is brought into unity and placed next to a model which the pixel size I’m already happy with. Reference textures of set sizes are then placed on the different parts of the model to see what looks best. The pixel sizes will not be uniform but will fit a method of, the most complex parts of the model will have the highest resolution textures. This coincides with the above the waist theory as the ribcage has the highest resolution textures. Below is an image of reference textures.
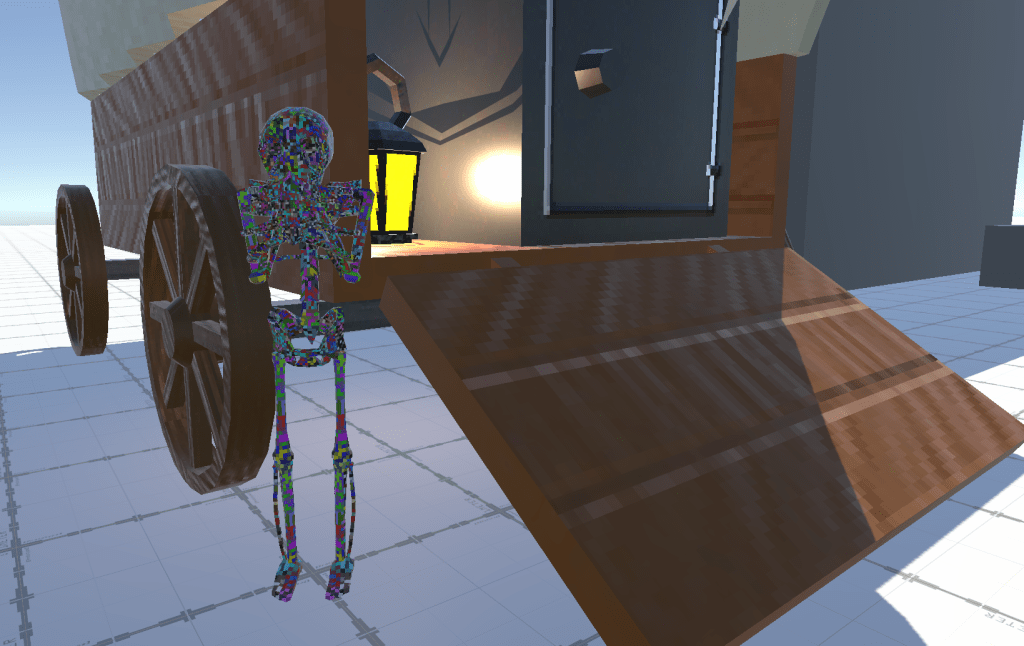
The reference textures consist of coloured noise ranging in resolution from 16×16 to 1024×1024. This pass also allows to check for inconsistencies in the UV which may occur if scale is incorrect or if unwrapping is poor. Looking at it now, I’ll probably make adjustments to the texture resolution and the UV of some of the bones.
My previous pipeline from Blender to Unity is to create the models and UVs in Blender, bring the models and the textures into Unity and recreate the materials in unity. This time around I’m going to switch it up and see if I can do all the material work in Blender. During my previous project Cleato Meato I imported a model with material from blender into Unity because I have having problems in Godot, so I wanted to check if the model was scuffed. This process may be faster and allows for a faster iterative loop.
What’s next?
Next is to make the materials and animations for the NPC. This will probably take the entire week as I learn blender’s animation and material process. After that will come the state machines and after that the most rudimentary UI. I want to make a start UI after this NPC is created because the lack of UI is making debugging rather difficult, and I should probably see how cleanly how systems can integrate into UI.

Leave a comment